Facebook Open Graph
You might have heard the term "Facebook Open Graph" lately and wondered what it is. Sure, Facebook Connect has been around for a while, but what is the " Open Graph"?
Facebook Connect allows people to sign in to an external website using their Facebook account.
In April of 2010, Facebook launched it's "Open Graph" API. What this platform does is let you do much, much more than just connect your site to Facebook.
Facebook Social Plugins
With the new API comes several new plug-ins that you can reasonably easily drop into your site. The new plugins are:
- Like Button
- Activity Feed
- Recommendations
- Like Box
- Login Button
- Face pile
- Comments
- Live Stream
The idea behind the plugins is that you can include them on your pages easily, and make your pages social "objects" part of the Facebook Open Graph. Translation: Your pages become more closely integrated with Facebook - even to the point of becoming extended Facebook pages hosted on your domain!
The "Like" Button
One of the most interesting and possibly useful new Social plugin from Facebook is the new version of the "Like Button". The "Like" button turns any of your pages into a Facebook "Fan" page, but hosted on your website.
When people visiting your page click on the new version of the "Like" button, they become "fans" of the page. This means that the link is shared with their network on facebook, and also you are now able to add content to their Facebook News Feed.
That's powerful stuff! On a good note, anyone who comes to your site and "Likes" a page automatically becomes a fan, and you can send them content in their News Feed from then on.
On the downside, anyone who comes to your site and "Likes" a page automatically becomes a fan, and you can send them content in their News Feed from then on. From the users point of view, they will probably not be aware that they are implicitly giving you this permission, so you need to treat this capability with great respect until Facebook creates controls for users to deal with this functionality.
App Development
These documents explain how to register, configure, and develop your app so you can successfully use facebook products, APIs, and SDKs.
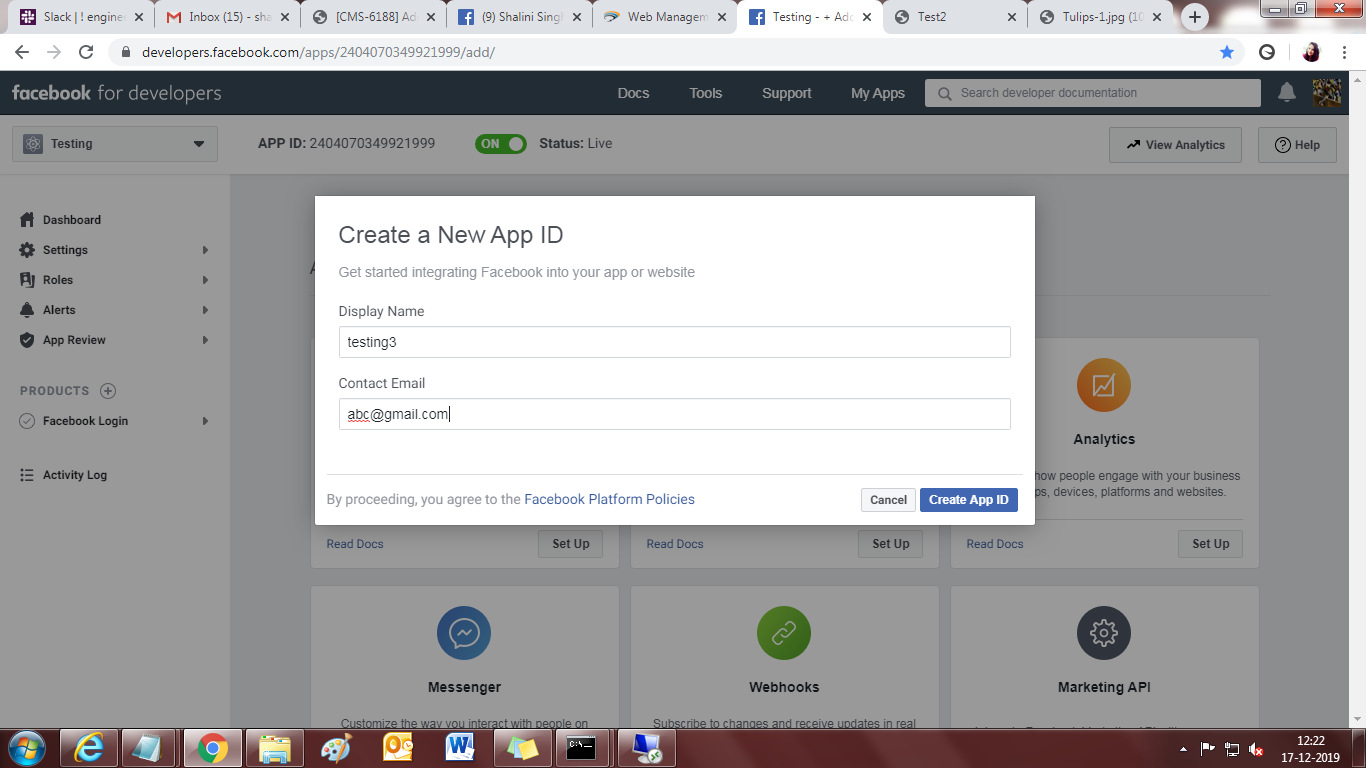
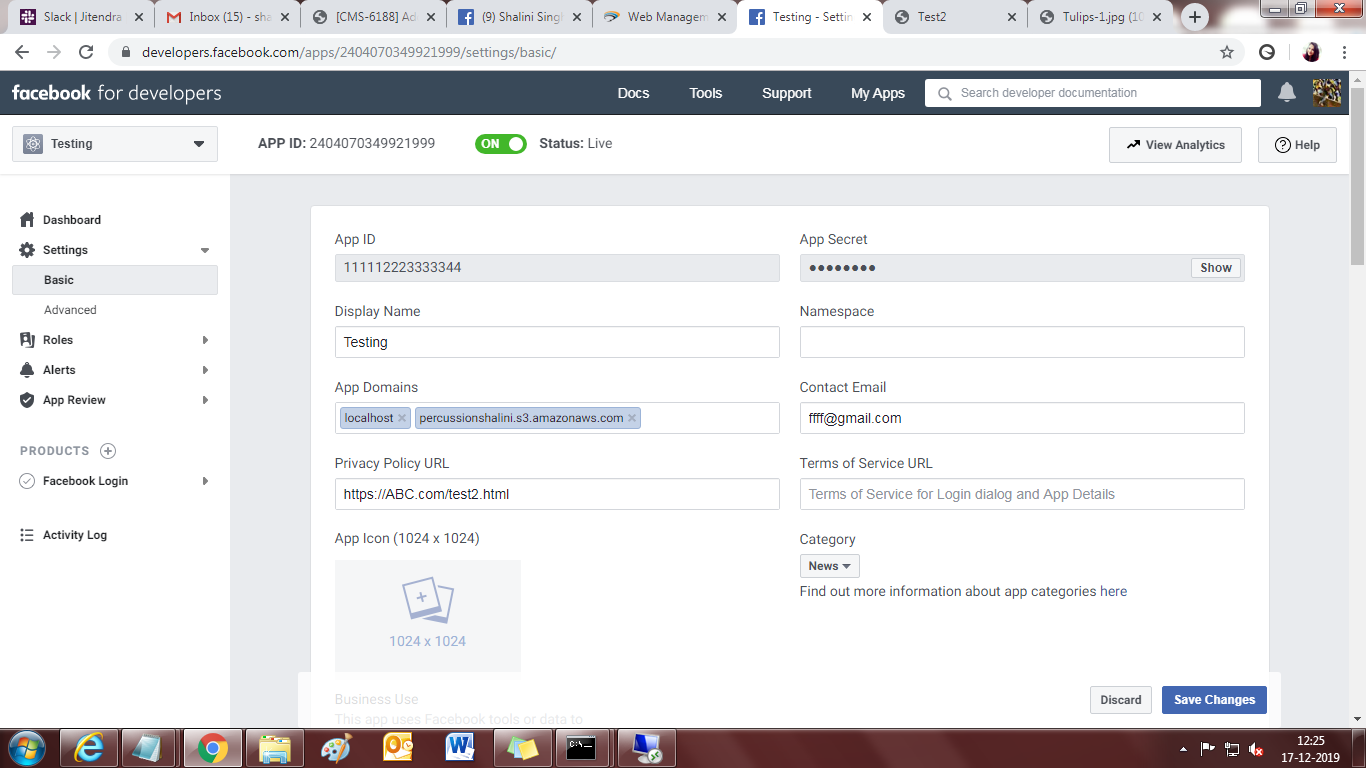
Below are the steps to create facebook account App ID and general development cycle involves:
1) Registering your app
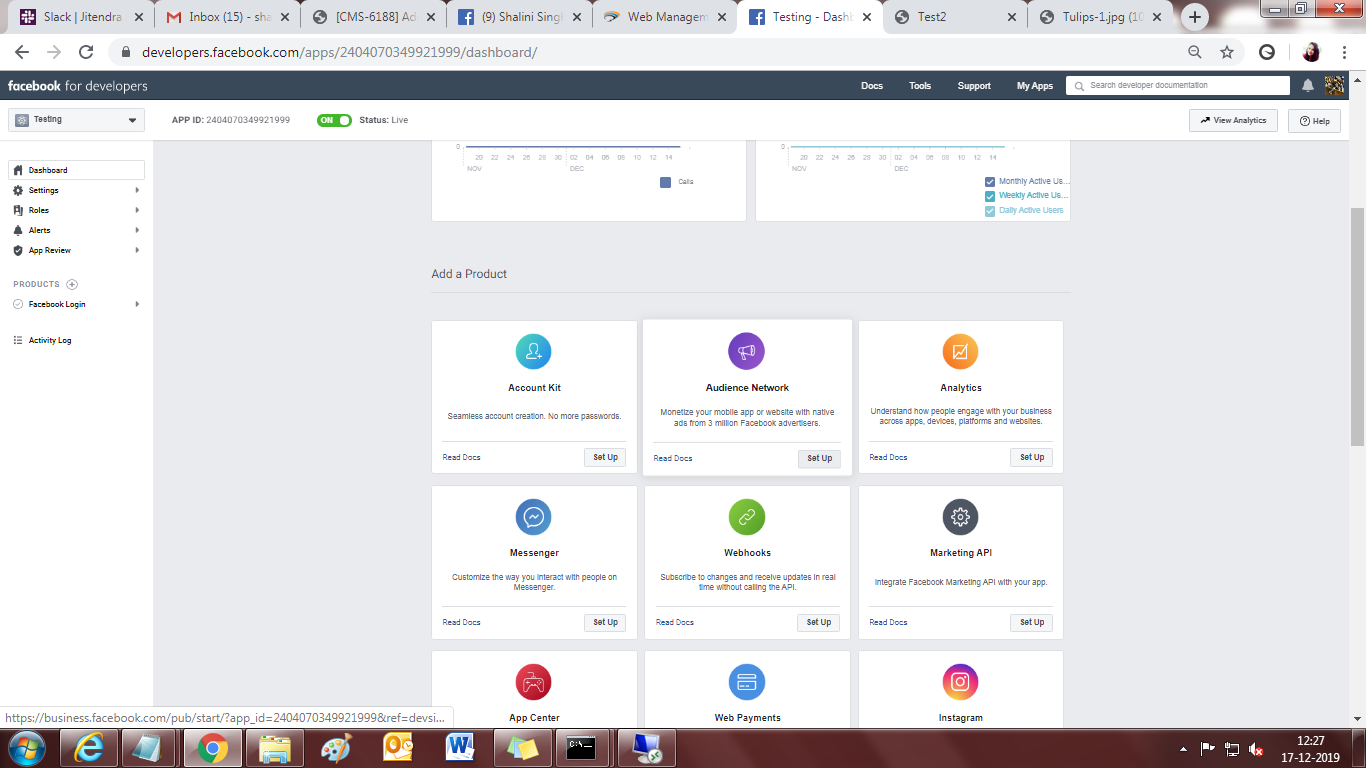
2) Selecting a scenario and adding products
3) Adding Roles
4) Submitting for App Review
5) Switching to Live Mode
Register
In order for your app to access any of facebok products or APIs, you must first convert your Facebook account to a Developer Account and register your app using the App Dashboard. You can do this at developers.facebook.com. Registration creates an App ID.

App ID
When you register, we will generate a unique App ID for your app.
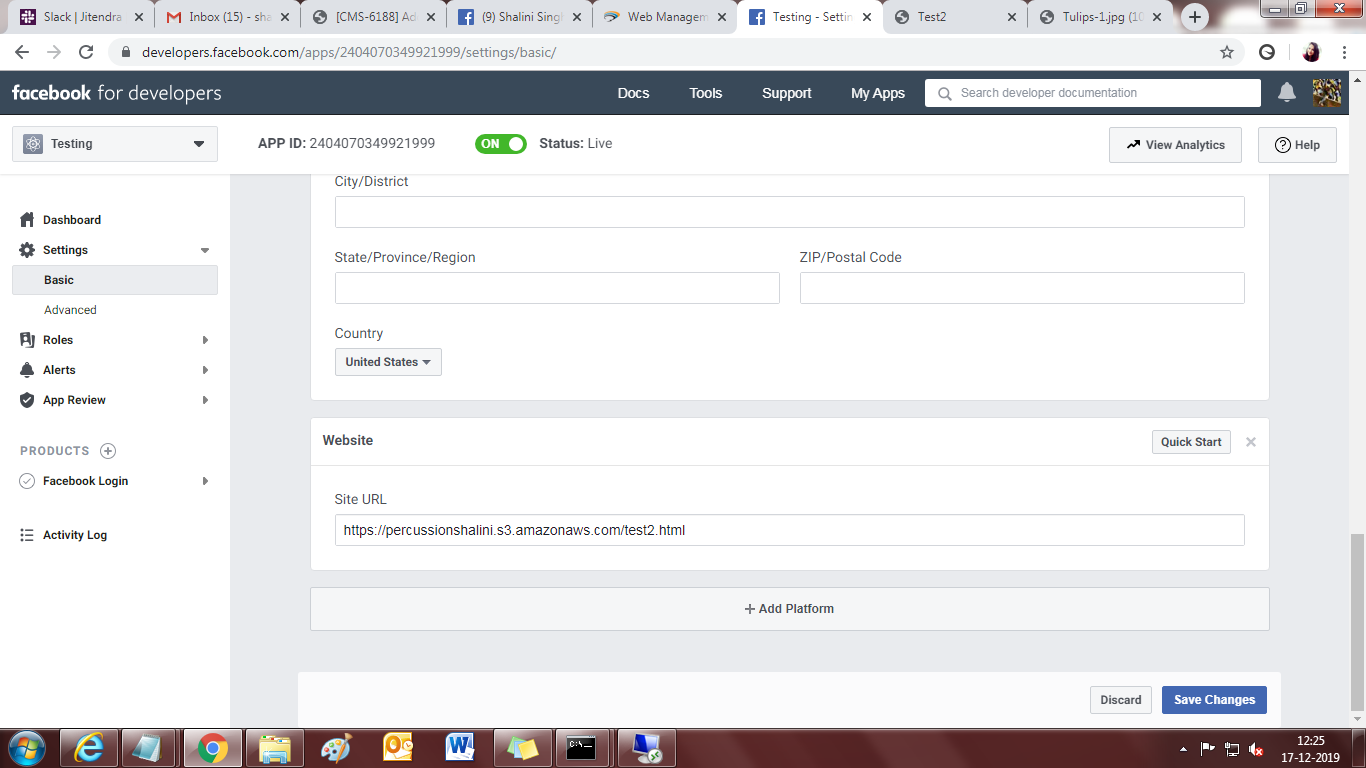
Platform
This lets us know how your users access your app — for example, on a mobile device or a website. This allows Facebook to show you platform-specific products and features later.
Scenarios and Products
After you register your app, you have the option of choosing one or more scenarios. Selecting a scenario adds the products related to the scenario. After you confirm your scenarios, the added products appear on the left side and the product documentation appears on the right side.

Roles
Once you've registered your app, you can assign roles to anyone with a Developer Account who will be helping you with development. Roles allow you to control access to your app and its settings. When you assign a role to a user with a Developer Account, the user will receive an invitation which can be accepted or declined. To configure the roles, select Roles in the left navigation.
App Review
Before you can switch your app to live mode, you may have to go through App Review. The process allows facebook to verify who you are and how you will be using the data that your app will be accessing.

Live Mode
After you have tested your app and, if necessary, completed App Review, you can switch it to live mode. Switching your app to live mode does not make it automatically discoverable through Facebook.com or any search engines.

How to Add Facebook Open Graph to your Pages
There are a few steps that have to be taken to add Facebook Open Graph on your website, but they are reasonably simple.
2) Open the Layout tab, select the Facebook widget.
3) Select the configure icon to edit the Facebook widget properties.
4) Click OK to save and close the configure widget properties window.
5) Click Save to save the Layout.
6) Open the Content tab, to edit the content configuration.
7) Setup steps are done.
Validate your OpenGraph Tags
To validate that your OpenGraph settings are configured correctly, you can use any of several free services, including OpenGraph.xyz, the Facebook Sharing Debugger, or do a web search for "OpenGraph checker". Open the checker site of your choice and enter your public URL. The checker will find all the OpenGraph tags in your homepage and display them, as well as a preview of how your site would look if shared on various social media sites. Note that not all sites display OpenGraph tags the same way; in particular, the "og:image" tag gets rendered slightly differently on Facebook, Twitter, and LinkedIn, so it's good to review each site. A useful tip: make sure the image you are using has wide margins between the edge of the image and the image content, as these may be clipped on different platforms.
